Making a Cyr Wheel
A Cyr Wheel is a fun an impressive skill to master. To get an idea of what can be done on a Cyr Wheel, have a look at the following YouTube video:
Manual
FEDEC provide a comprehensive PDF manual on the Cyr Wheel which provides very valuable information on about the construction and use of the wheel.
Construction
The main construction of the Cyr Wheel is multiple sections of a circle made from metal tube, covered in a PVC hose as a protective surface which also provides grip.
Some of the FEDEC wheels are made from stainless steel, but I chose to make Donna one out of Aluminium as it’s easier to work with. The outside diameter of the Cyr Wheel needs to be around 40-50mm depending on the preferred grip of the performer who’s going to be using it.
The diameter of the whole Cyr Wheel should be such that the performer can stand on the bottom of the wheel and have about a fist (10-15cm) gap above their head. So the internal diameter of the wheel needs to be the performers height + 10-15cm. The original wheel I made for Donna is a bit small, so we’ll be making a new one with a larger diameter.
The main wheel material I used was 1 ¼″ (31.75mm) O.D. aluminium with a wall thickness of 10SWG (~3.25mm), and I got some tube to fit inside that to make the connections between the three sections of the wheel, this tube was 1″ (25.4mm) O.D. with a wall thickness of 3/16″ (4.76mm) which will be directly drilled and tapped. Later on I’ll insert steel threaded sections so that the wheel can be held together tighter.
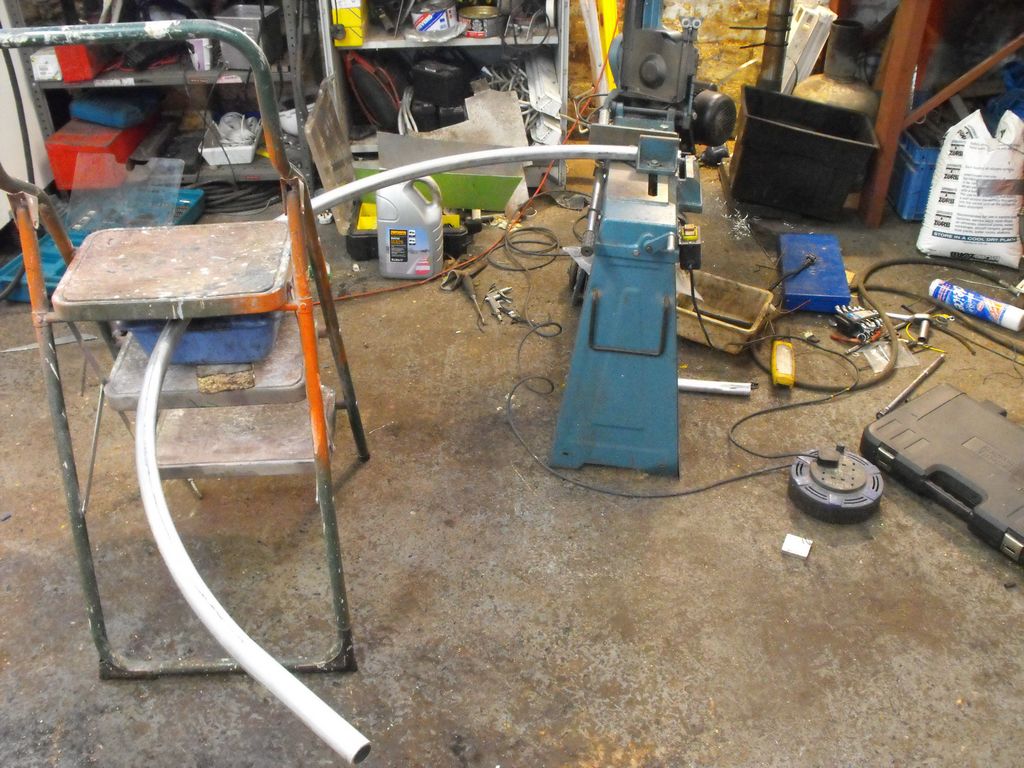
The metal was rolled using a square former, because, well, that’s all we had! It helped us not get much twist, but it did mean there was some deforming of the tube. The deformation however was very much limited to the smaller radius side of the tube, and thus won’t affect the rolling or performance of the wheel.
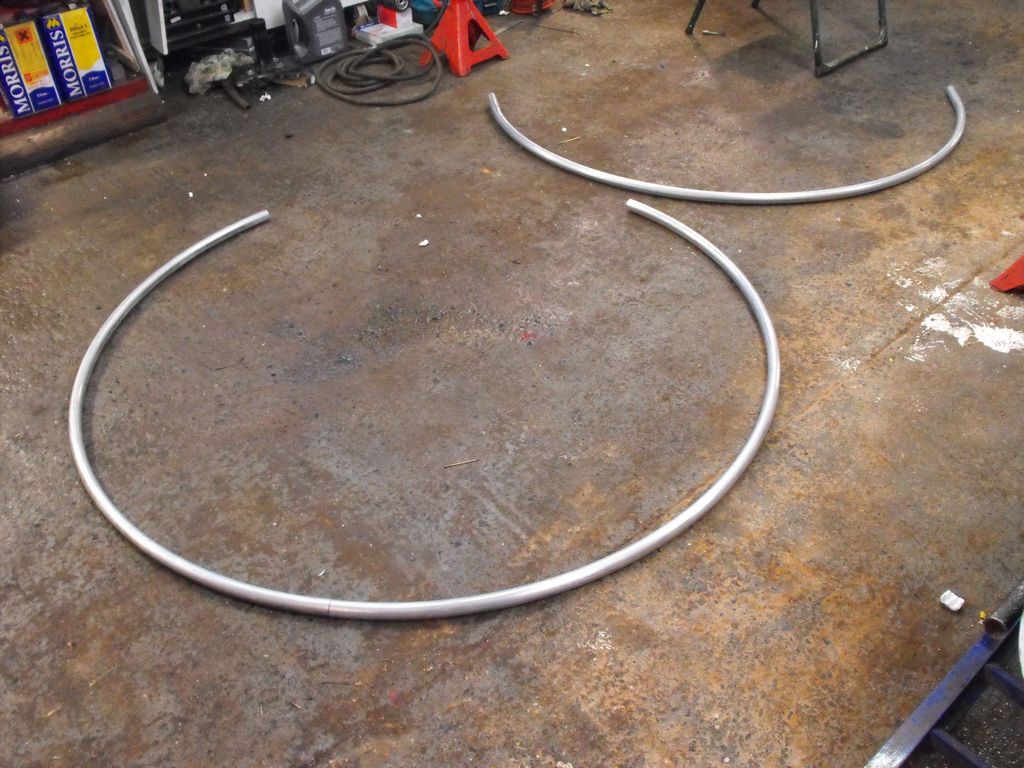
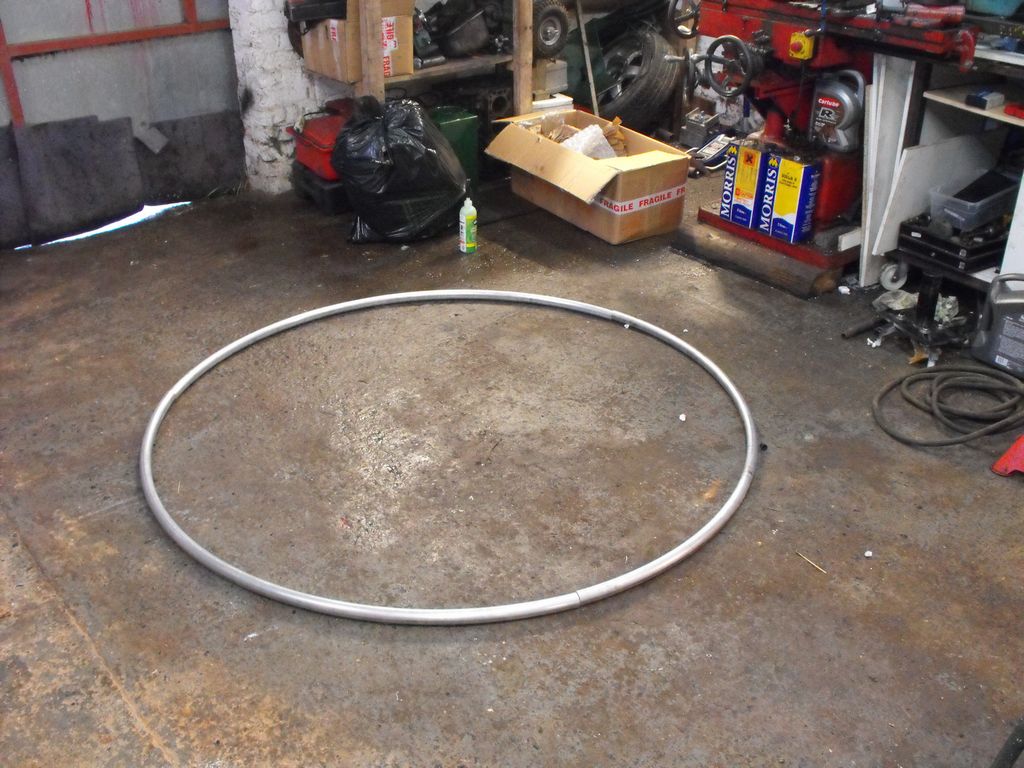
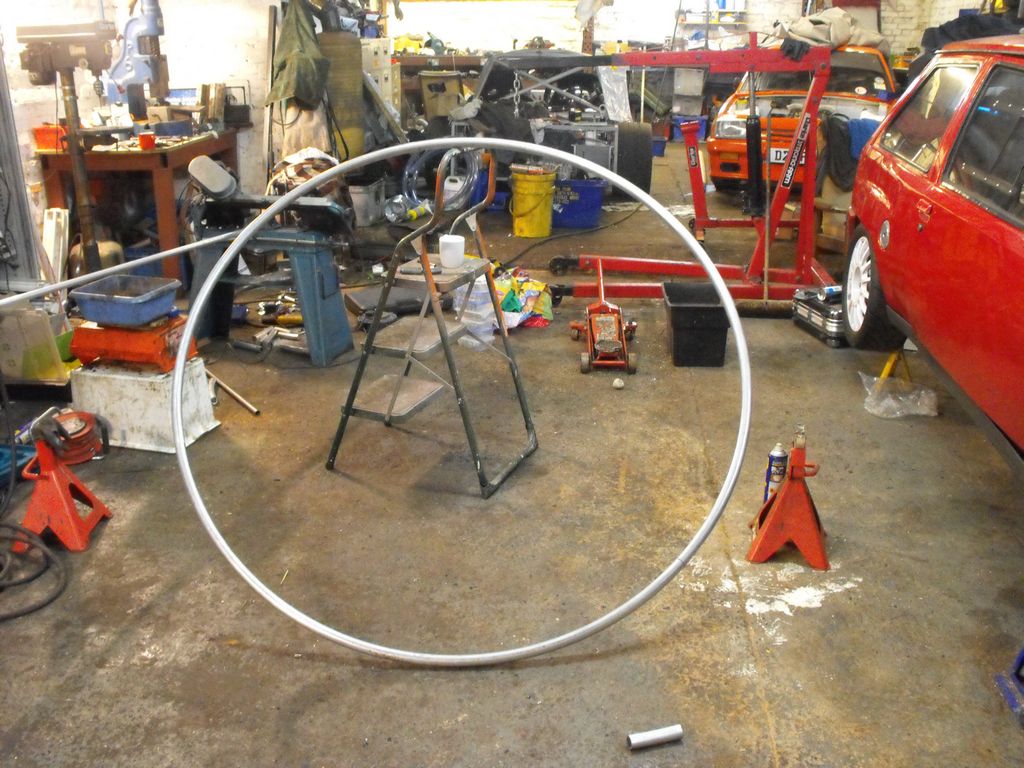
We rolled the tube to size by chalking out a half circle of the required size with a piece of string (well, a tape measure actually) holding the end at the centre point and rotating it a little and then marking it. This is the tube after it’s been rolled:

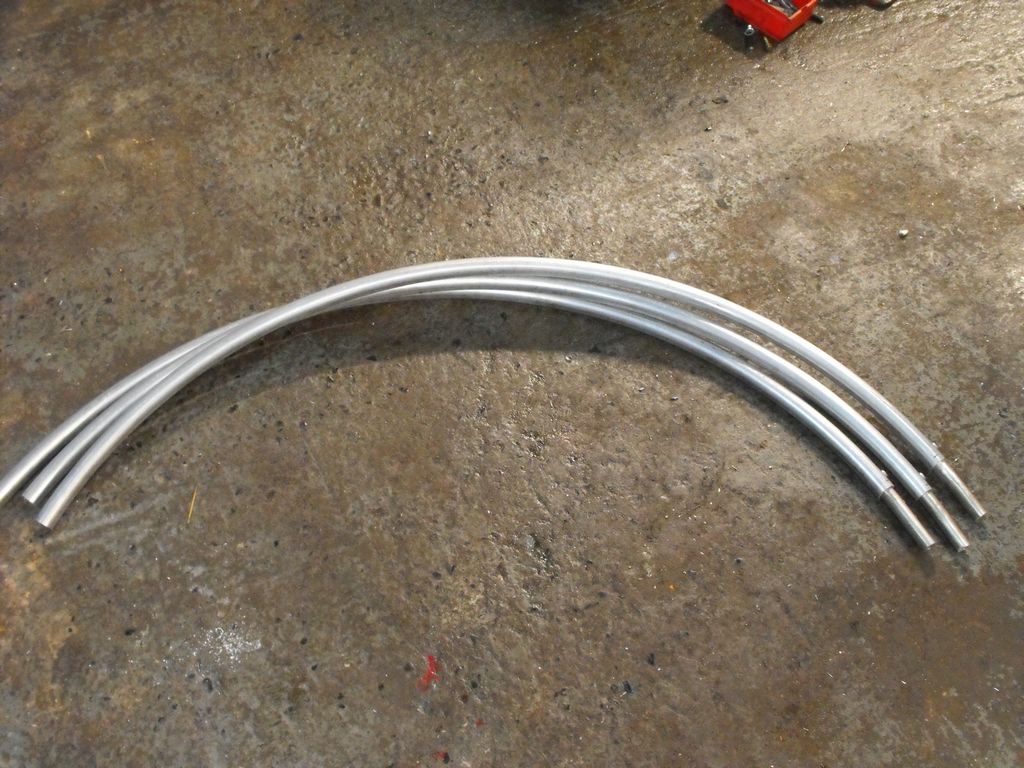
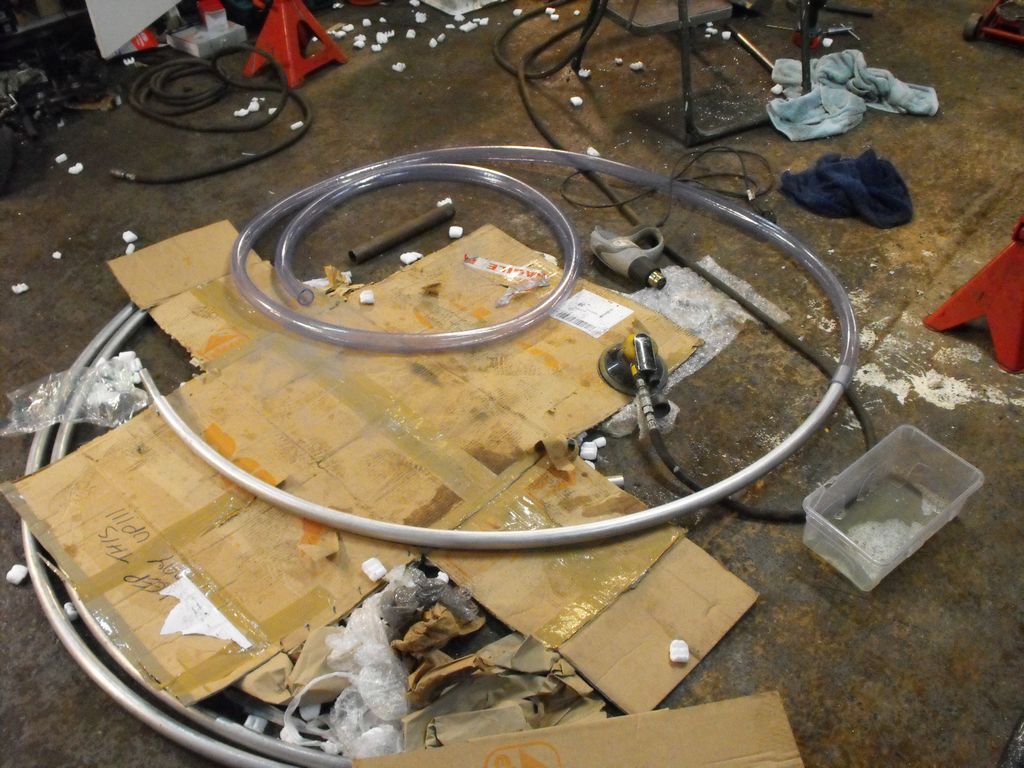
As you can see, we start off with too much material, but I cut each section to a reasonable size which was still too big, but are all rolled section, with square ends so the tube can be laid out, and measured:
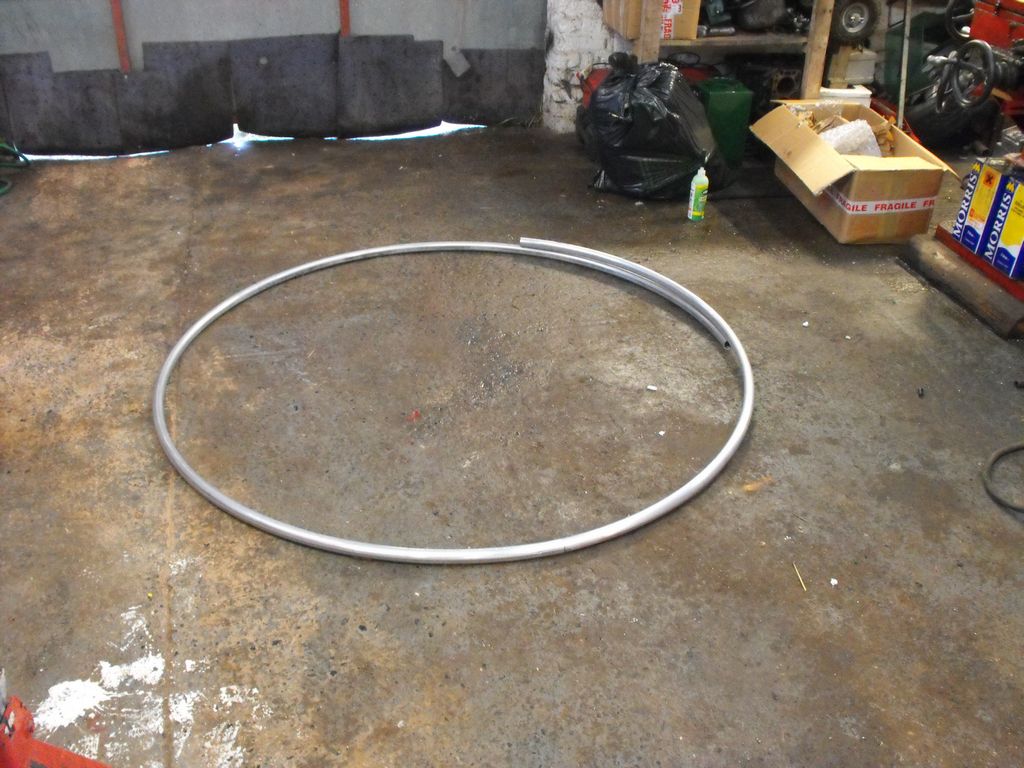
The overlap is measured, divided by 3 and then that much is chopped off of each section. so that each section is the same size, and altogether they make a complete circle. You can see the deformed tube shape below which shows how well the external diameter radius has survived the rolling with square formers. If you’re using round formers for the rolling then you won’t have much distortion so you’ll be okay!
Now that we have the wheel basics together, we need to create the connecting pieces. These will connect the three pieces of the wheel together and allow it to be broken down for easier transport. You can use as many pieces as you want. Traditionally Cyr Wheels have come in three piece form, but there are newer designs which break down into five piece. The more pieces the better actually, because getting the PVC hose on the outside as the protective layer is really hard to do over one of a three piece wheel.
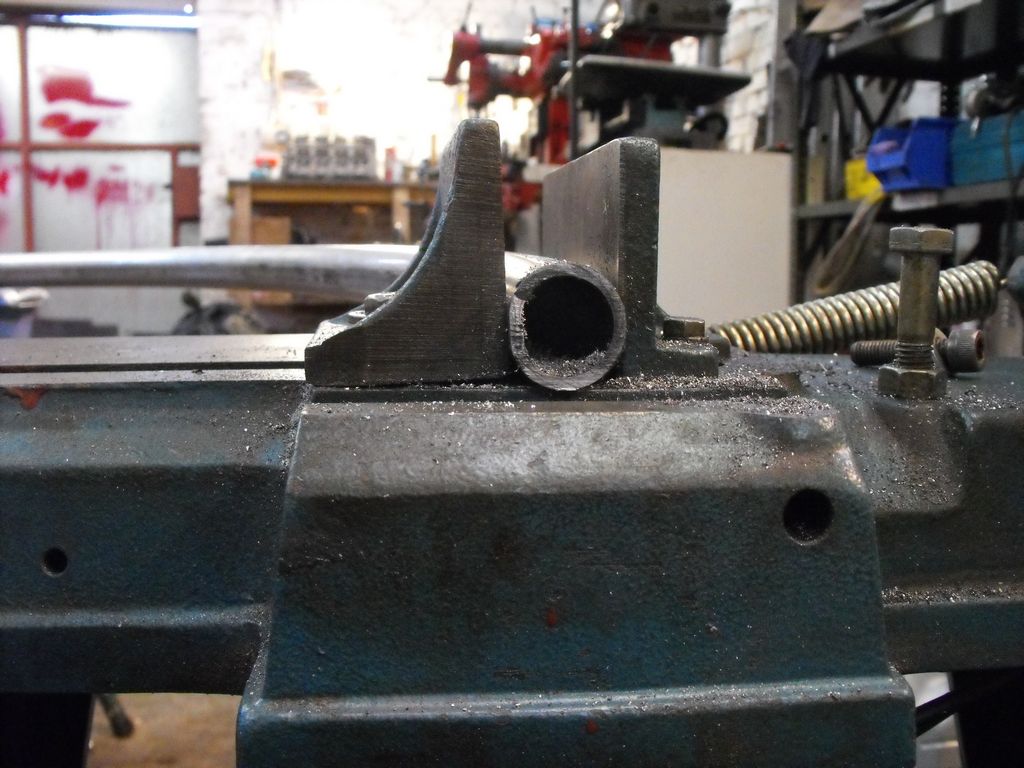
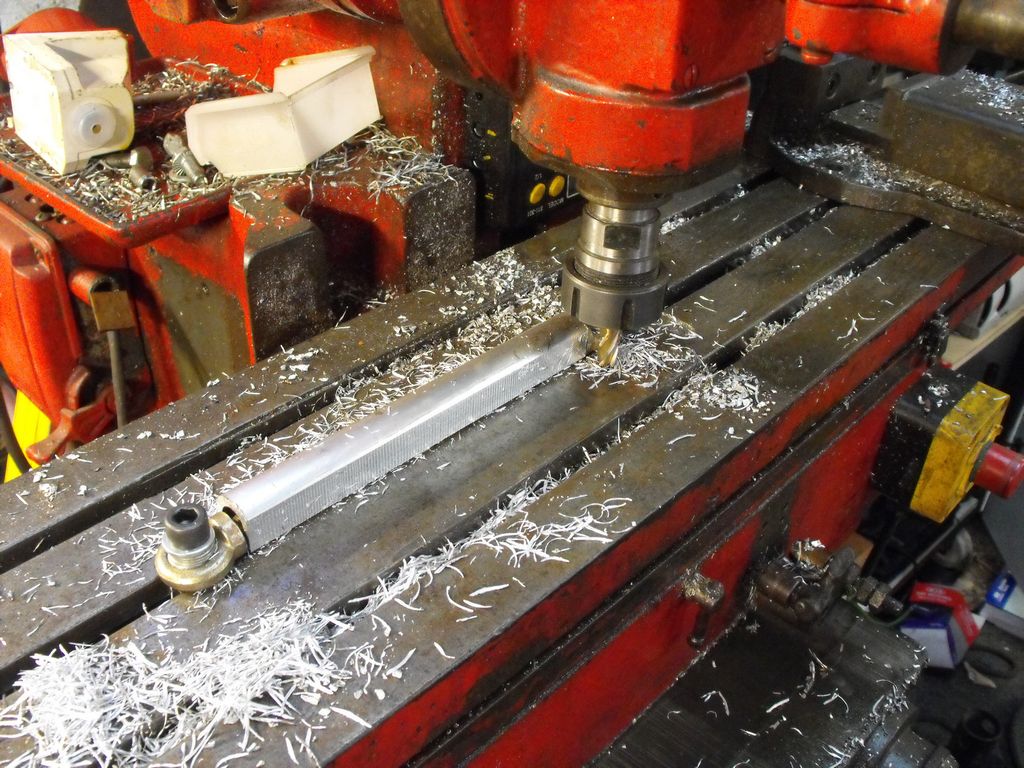
Normally, we’d turn the smaller diameter round tube down a little to give it some play and fit curved sections of it, around 200mm long into the larger diameter tube that makes up the wheel. However, as the tube is distorted I had to match the shape of the inner tube to the outer tube on the milling machine. The pieces are about 200mm long, and were curved on a fly press until they fitted easily inside the tube. Note: You’ll have to make them a slightly sloppy fit in order to be able to fit all the pieces of the wheel together. If you make the fit too tight you’ll struggle to the get the wheel to assemble completely.
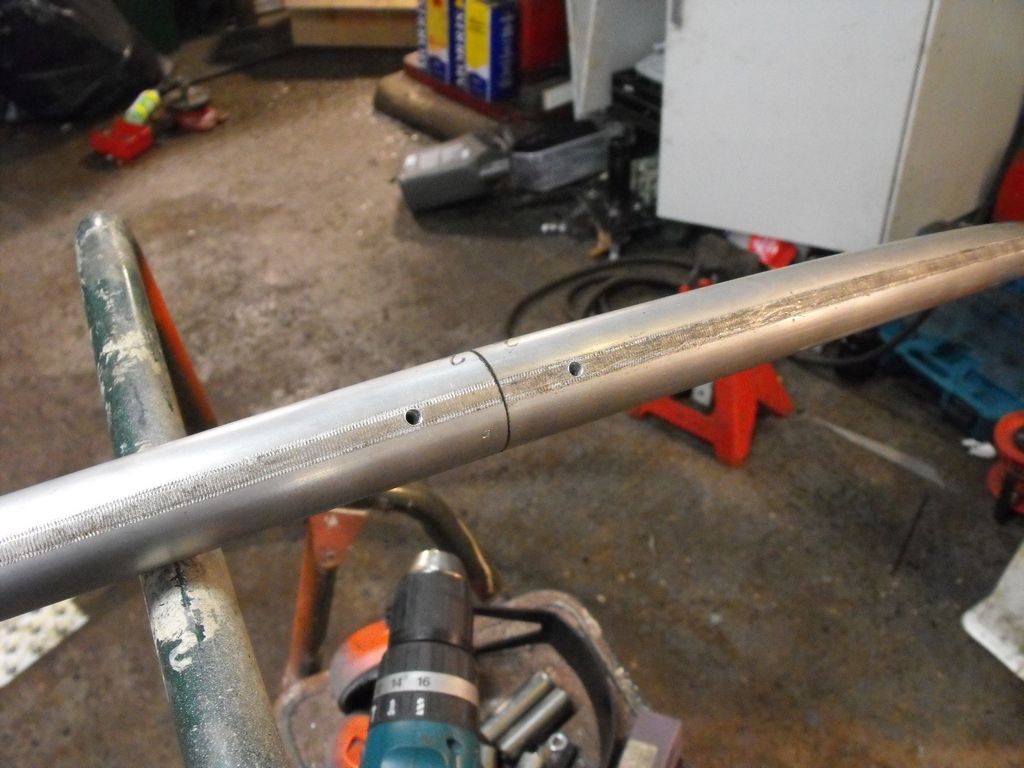
Eventually when we’ve done three of them, we end up with what is the basis of our wheel, with three curved sections with fixings in one end of each:
The hoop is put together as a whole and then the fixing sections are drilled and tapped with the wheel completely assembled:
Now the wheel can be assembled and bolted together. It’s worth checking now that the fit is tight enough. Try to hang from the top of the wheel with it all fixed together, the wheel should not flex or deform. It should take your weight easily as much more energy is put into the wheel when it is used.
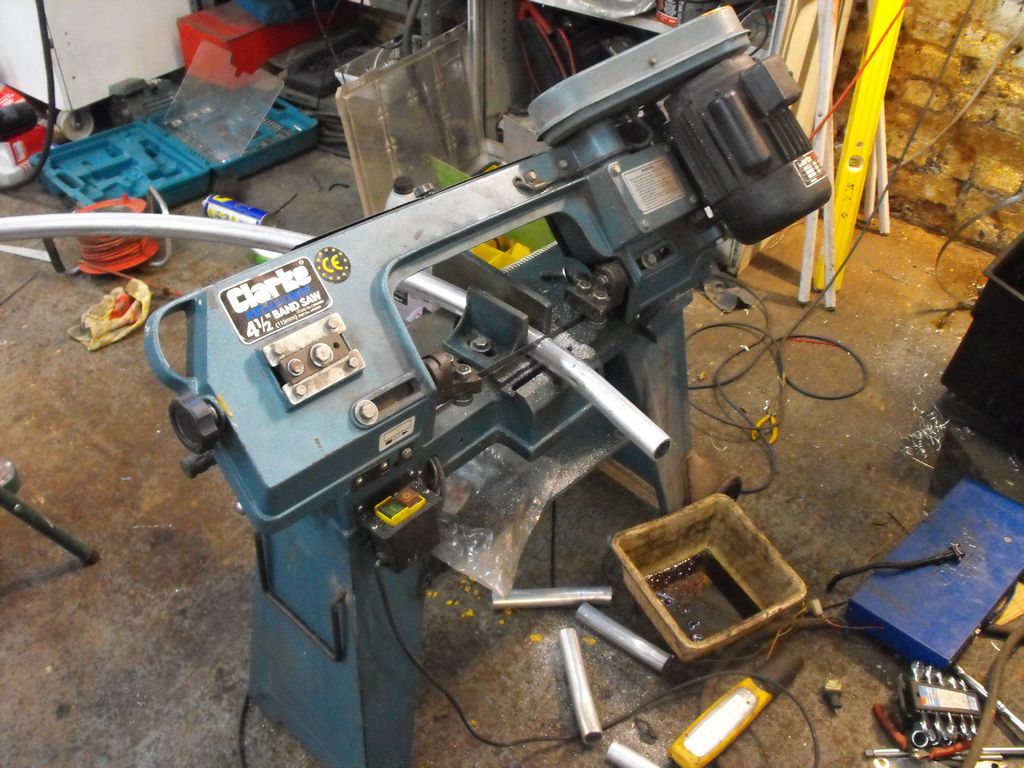
Putting the outer PVC hose on is a bit of a trial! I also had to sand the marks from the square formers used for rolling, hence the DA sander is out! I used heat and soapy water as well as attaching the hose to the air line and blocking off the other end of the wheel section. This was meant to create a cushion of air to ease fitting the hose, but the hose is a pretty tough nut to crack. Besides, it becomes hard on a large section to apply force the hose whilst steadying the wheel tube. In the end I did two pieces of hose (one from each end) on the sections of the first wheel! Trying to do it in one piece just wasn’t happening!
After all this you’ll probably find you’ve got one happy Fiance, but you’ve also made the wheel a bit small and so need to make another one. Luckily you’ve learnt from the first one and will make the second one even better! 😀
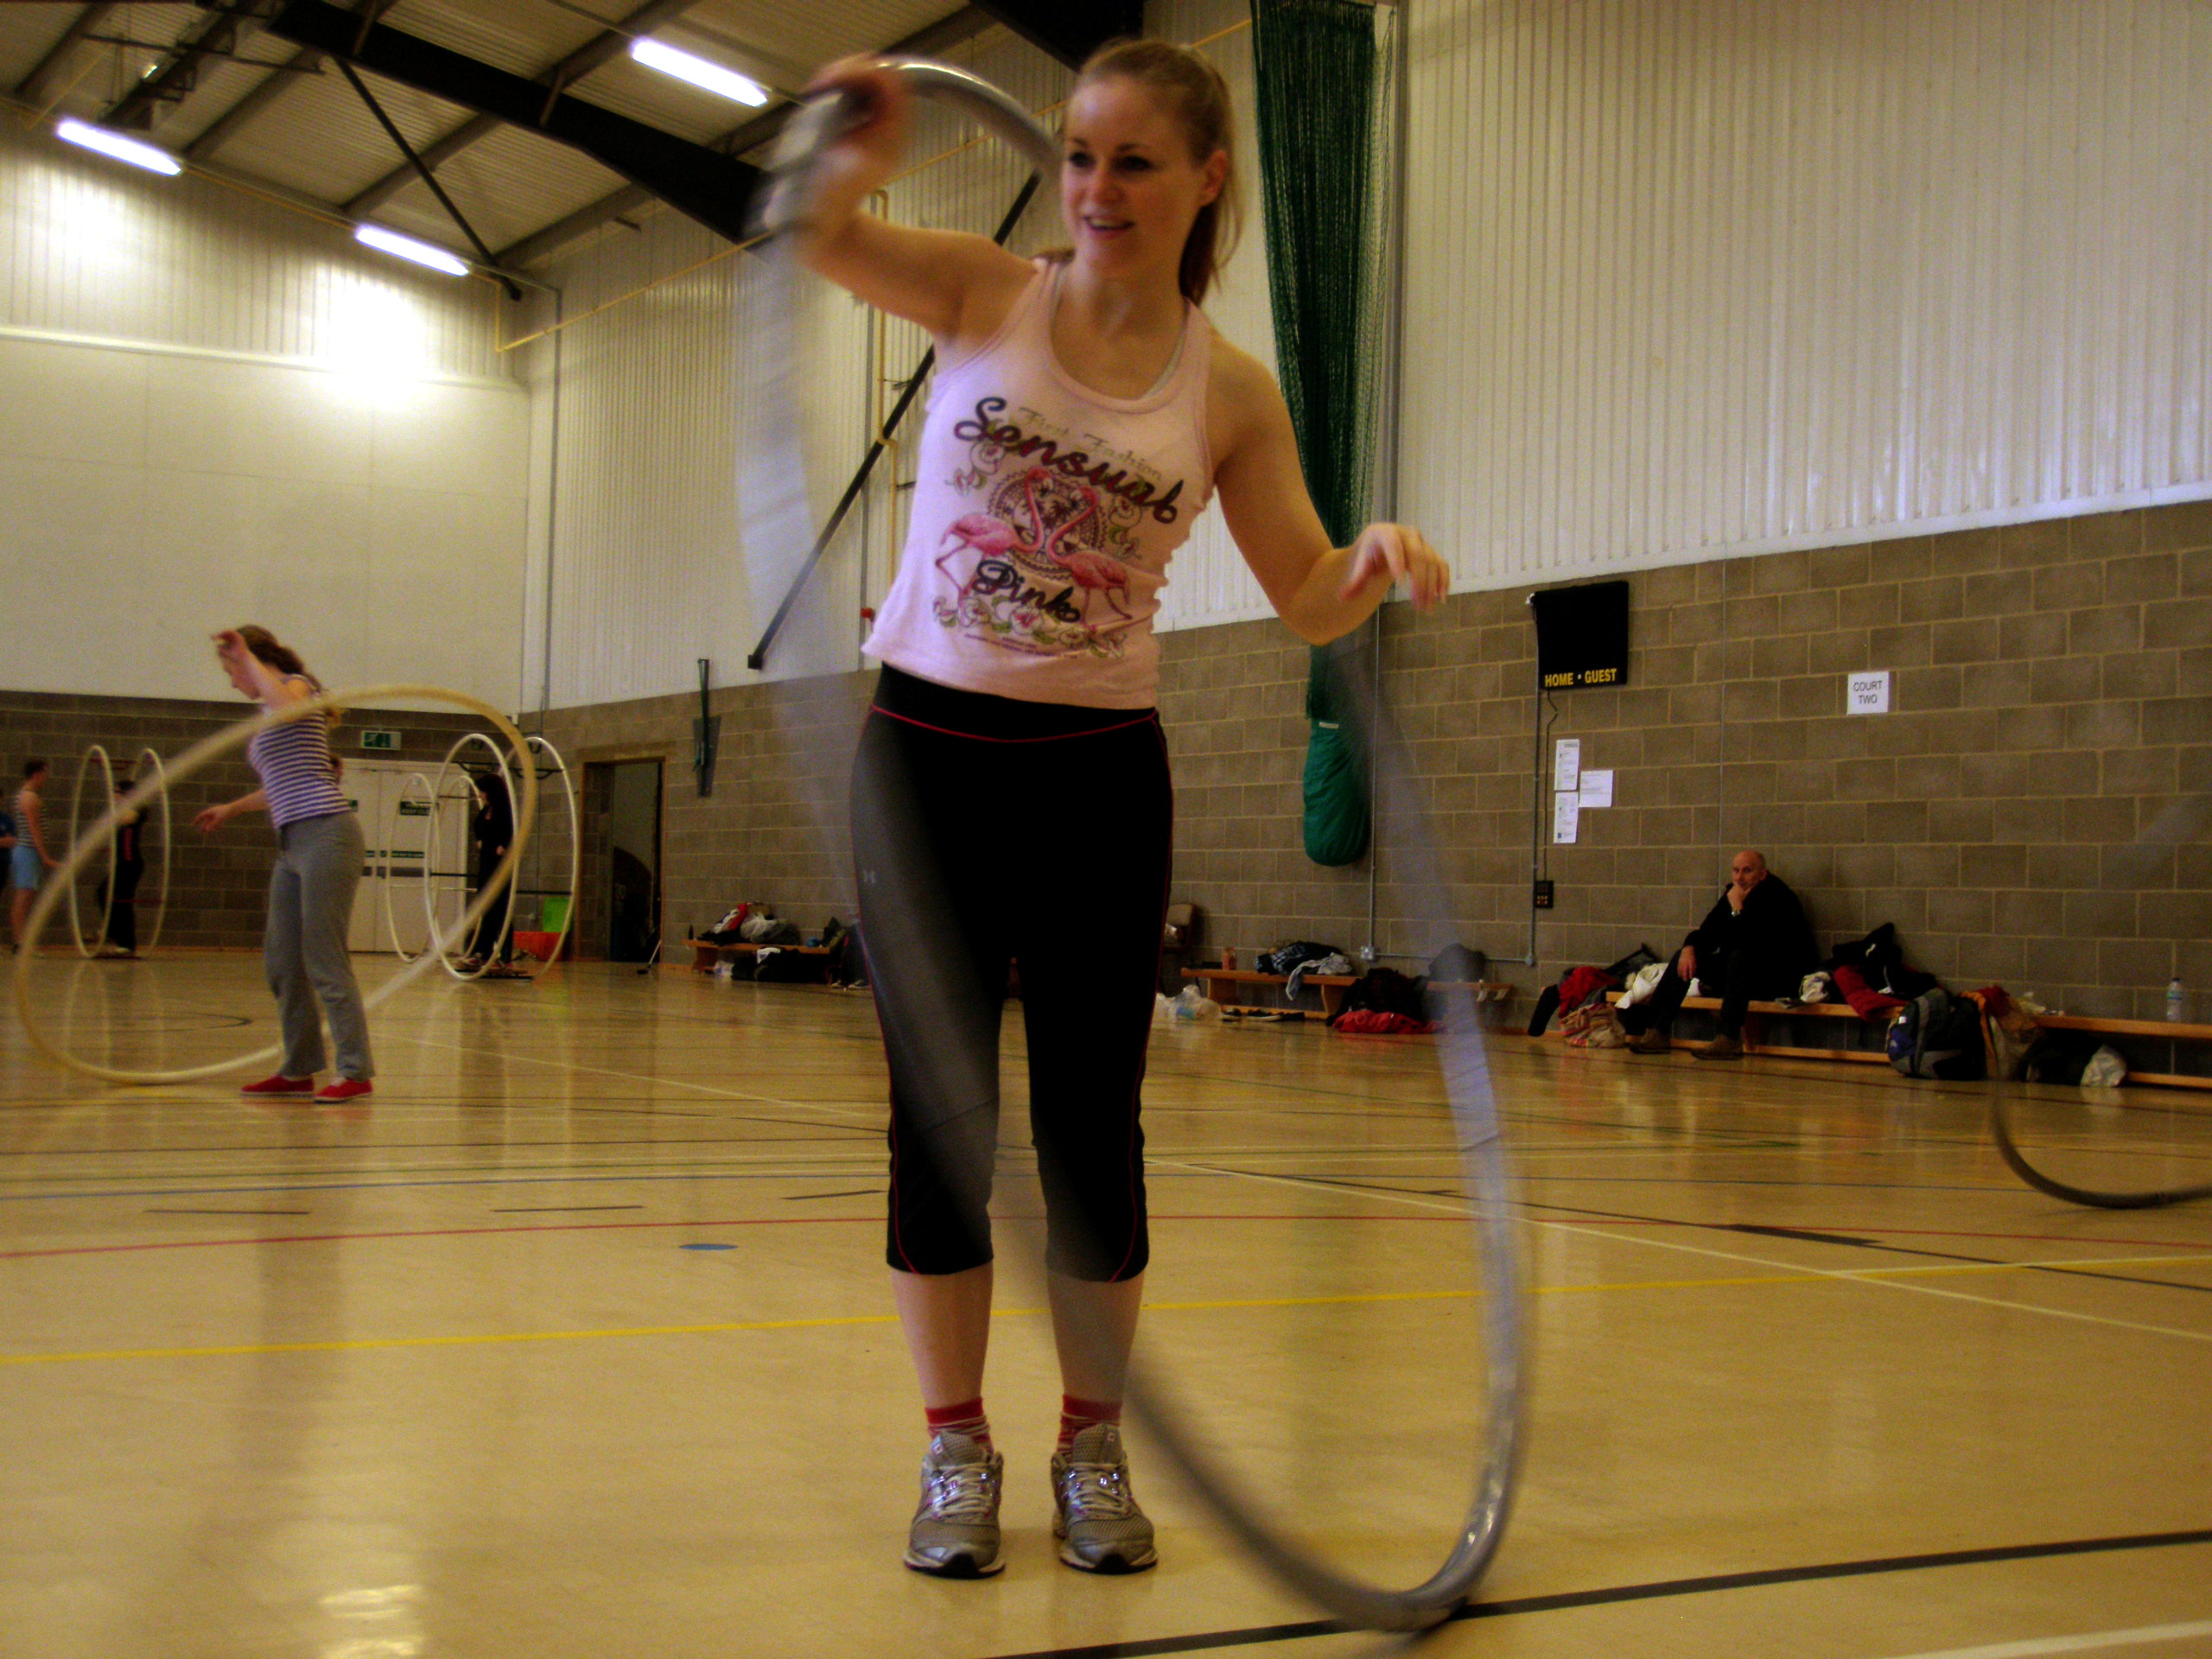
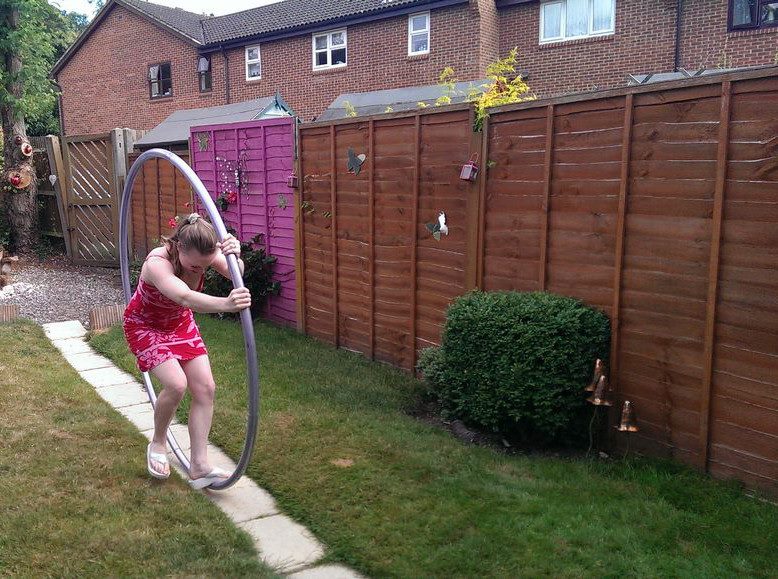
And finally we’ve got the rest of the hose on and Donna has booked a Cyr wheel workshop for October 2013 so she’s been getting in some initial practice. Although here she’s making it tougher by using flip-flops! This is when the wheel first made it home in a complete form. The trouble with finishing the wheel was getting married and buying a house took precedence!
Update 12/10/2013
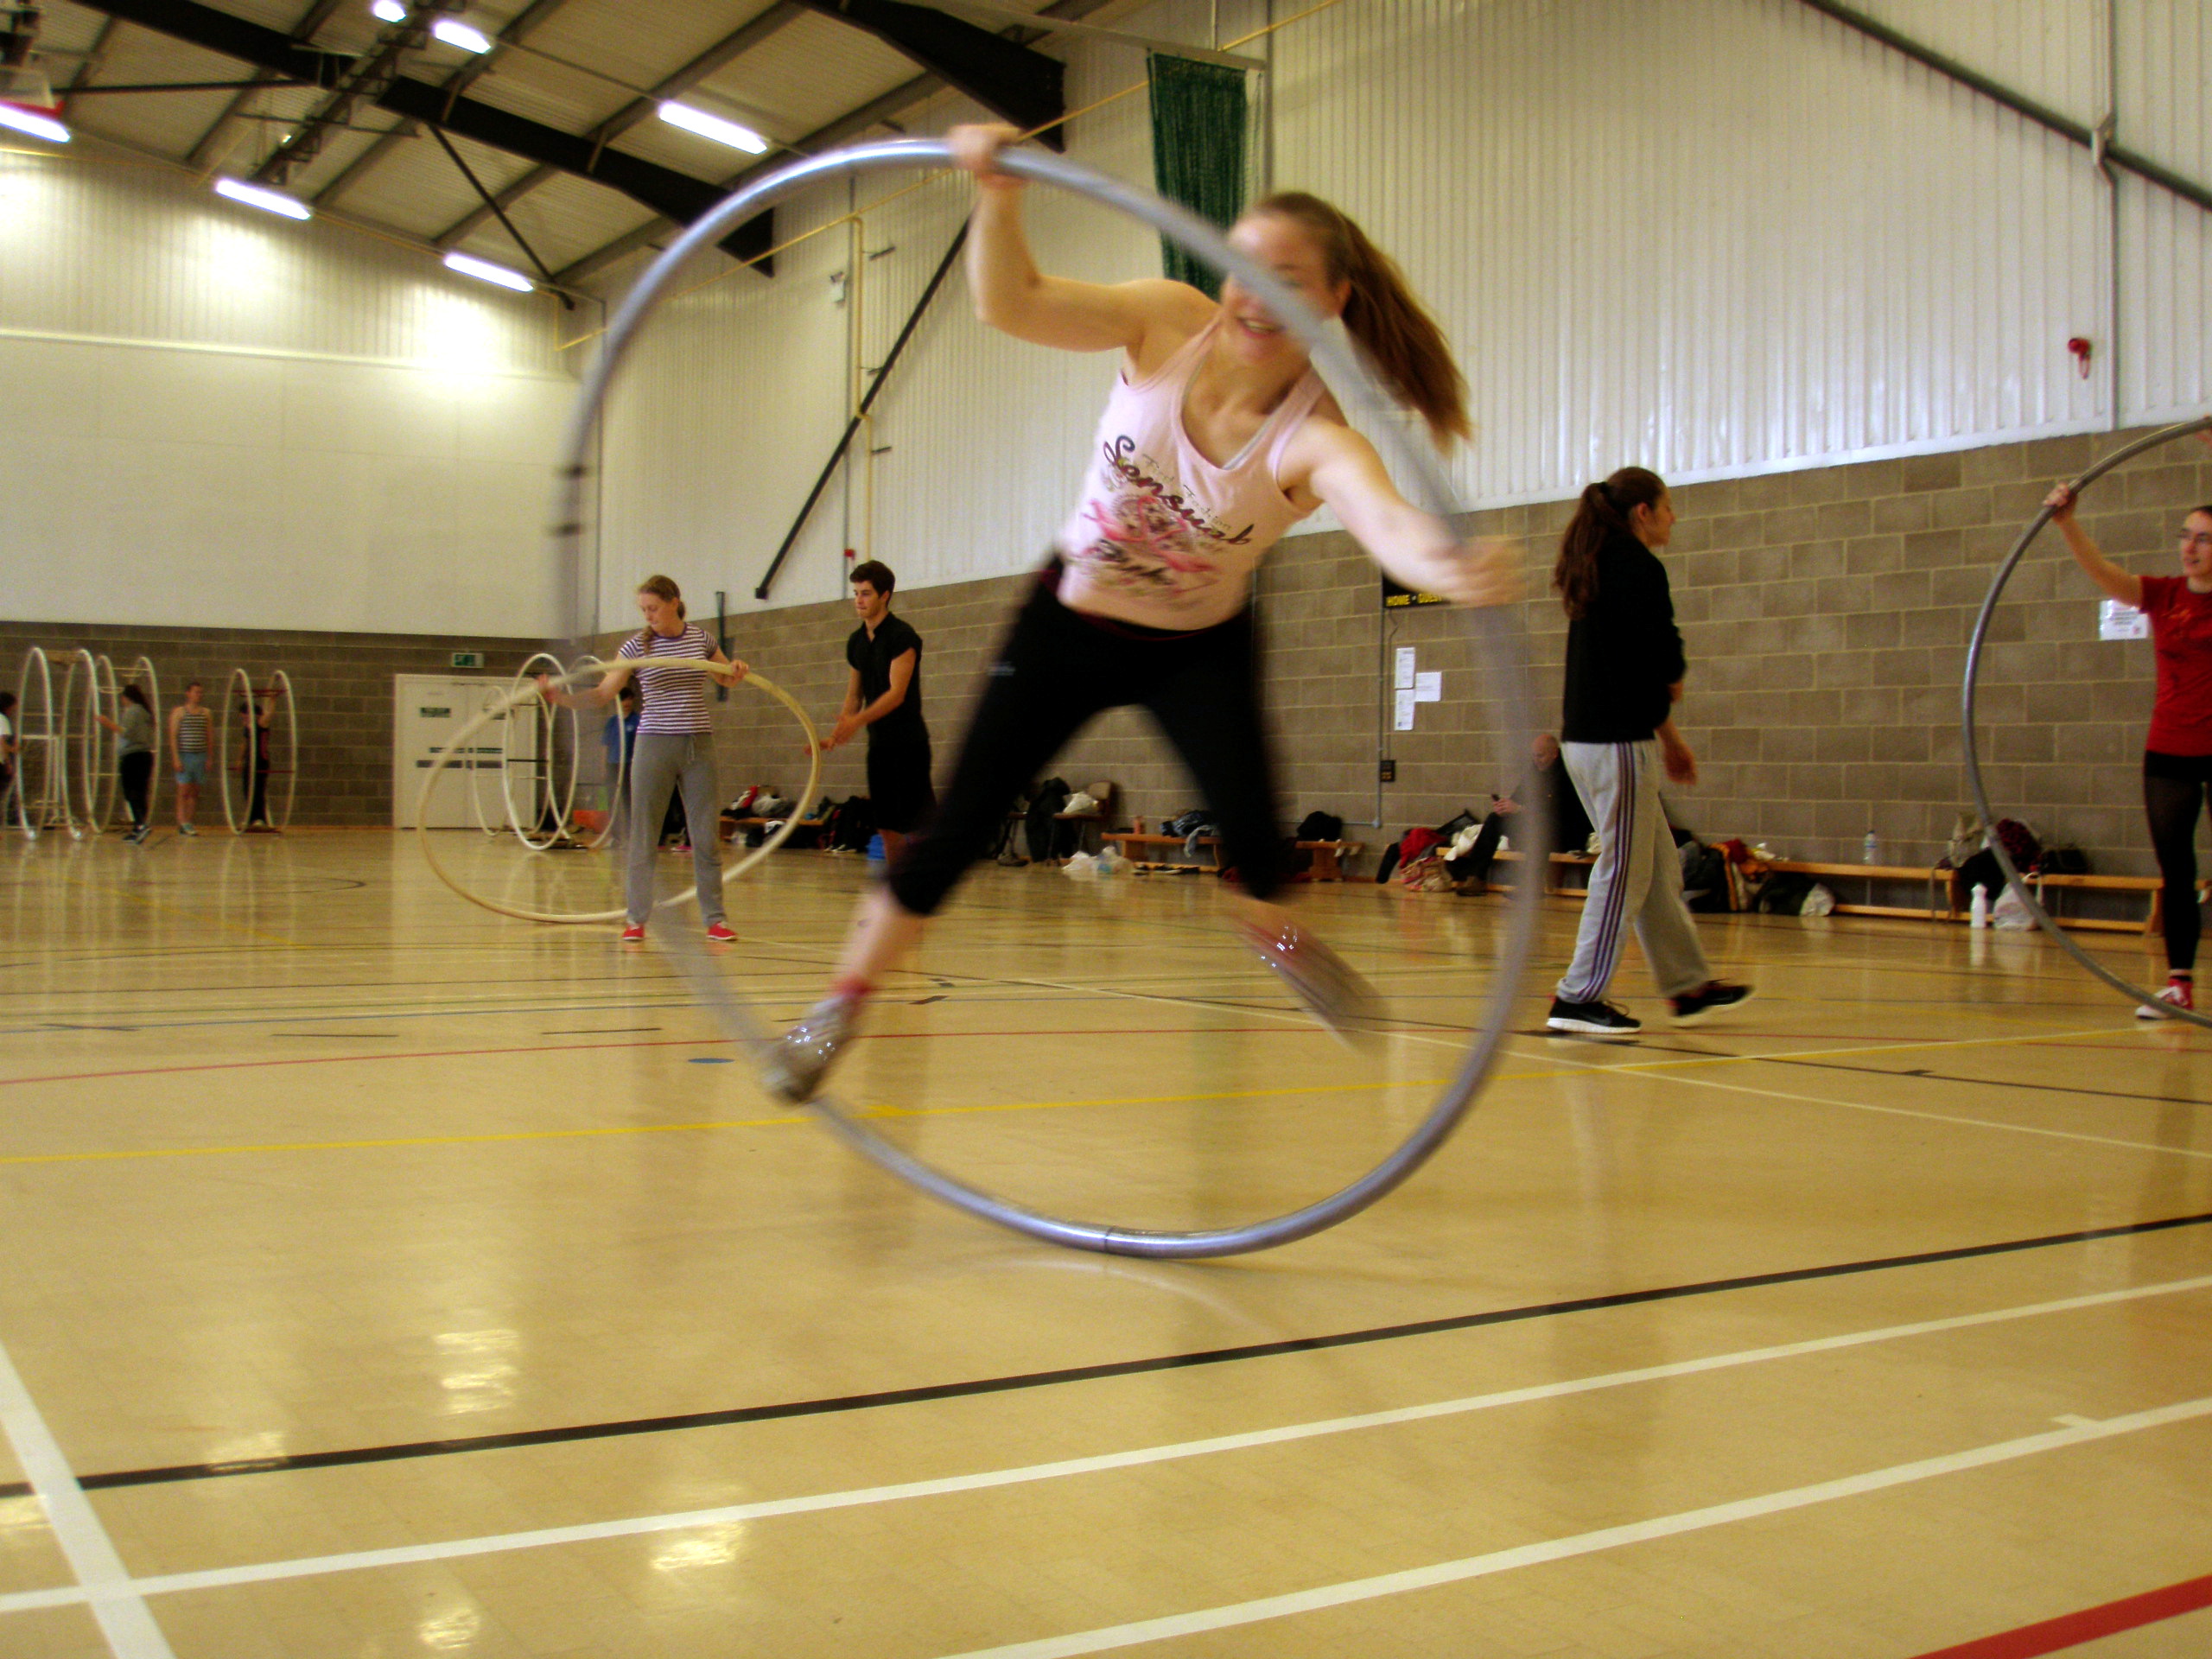
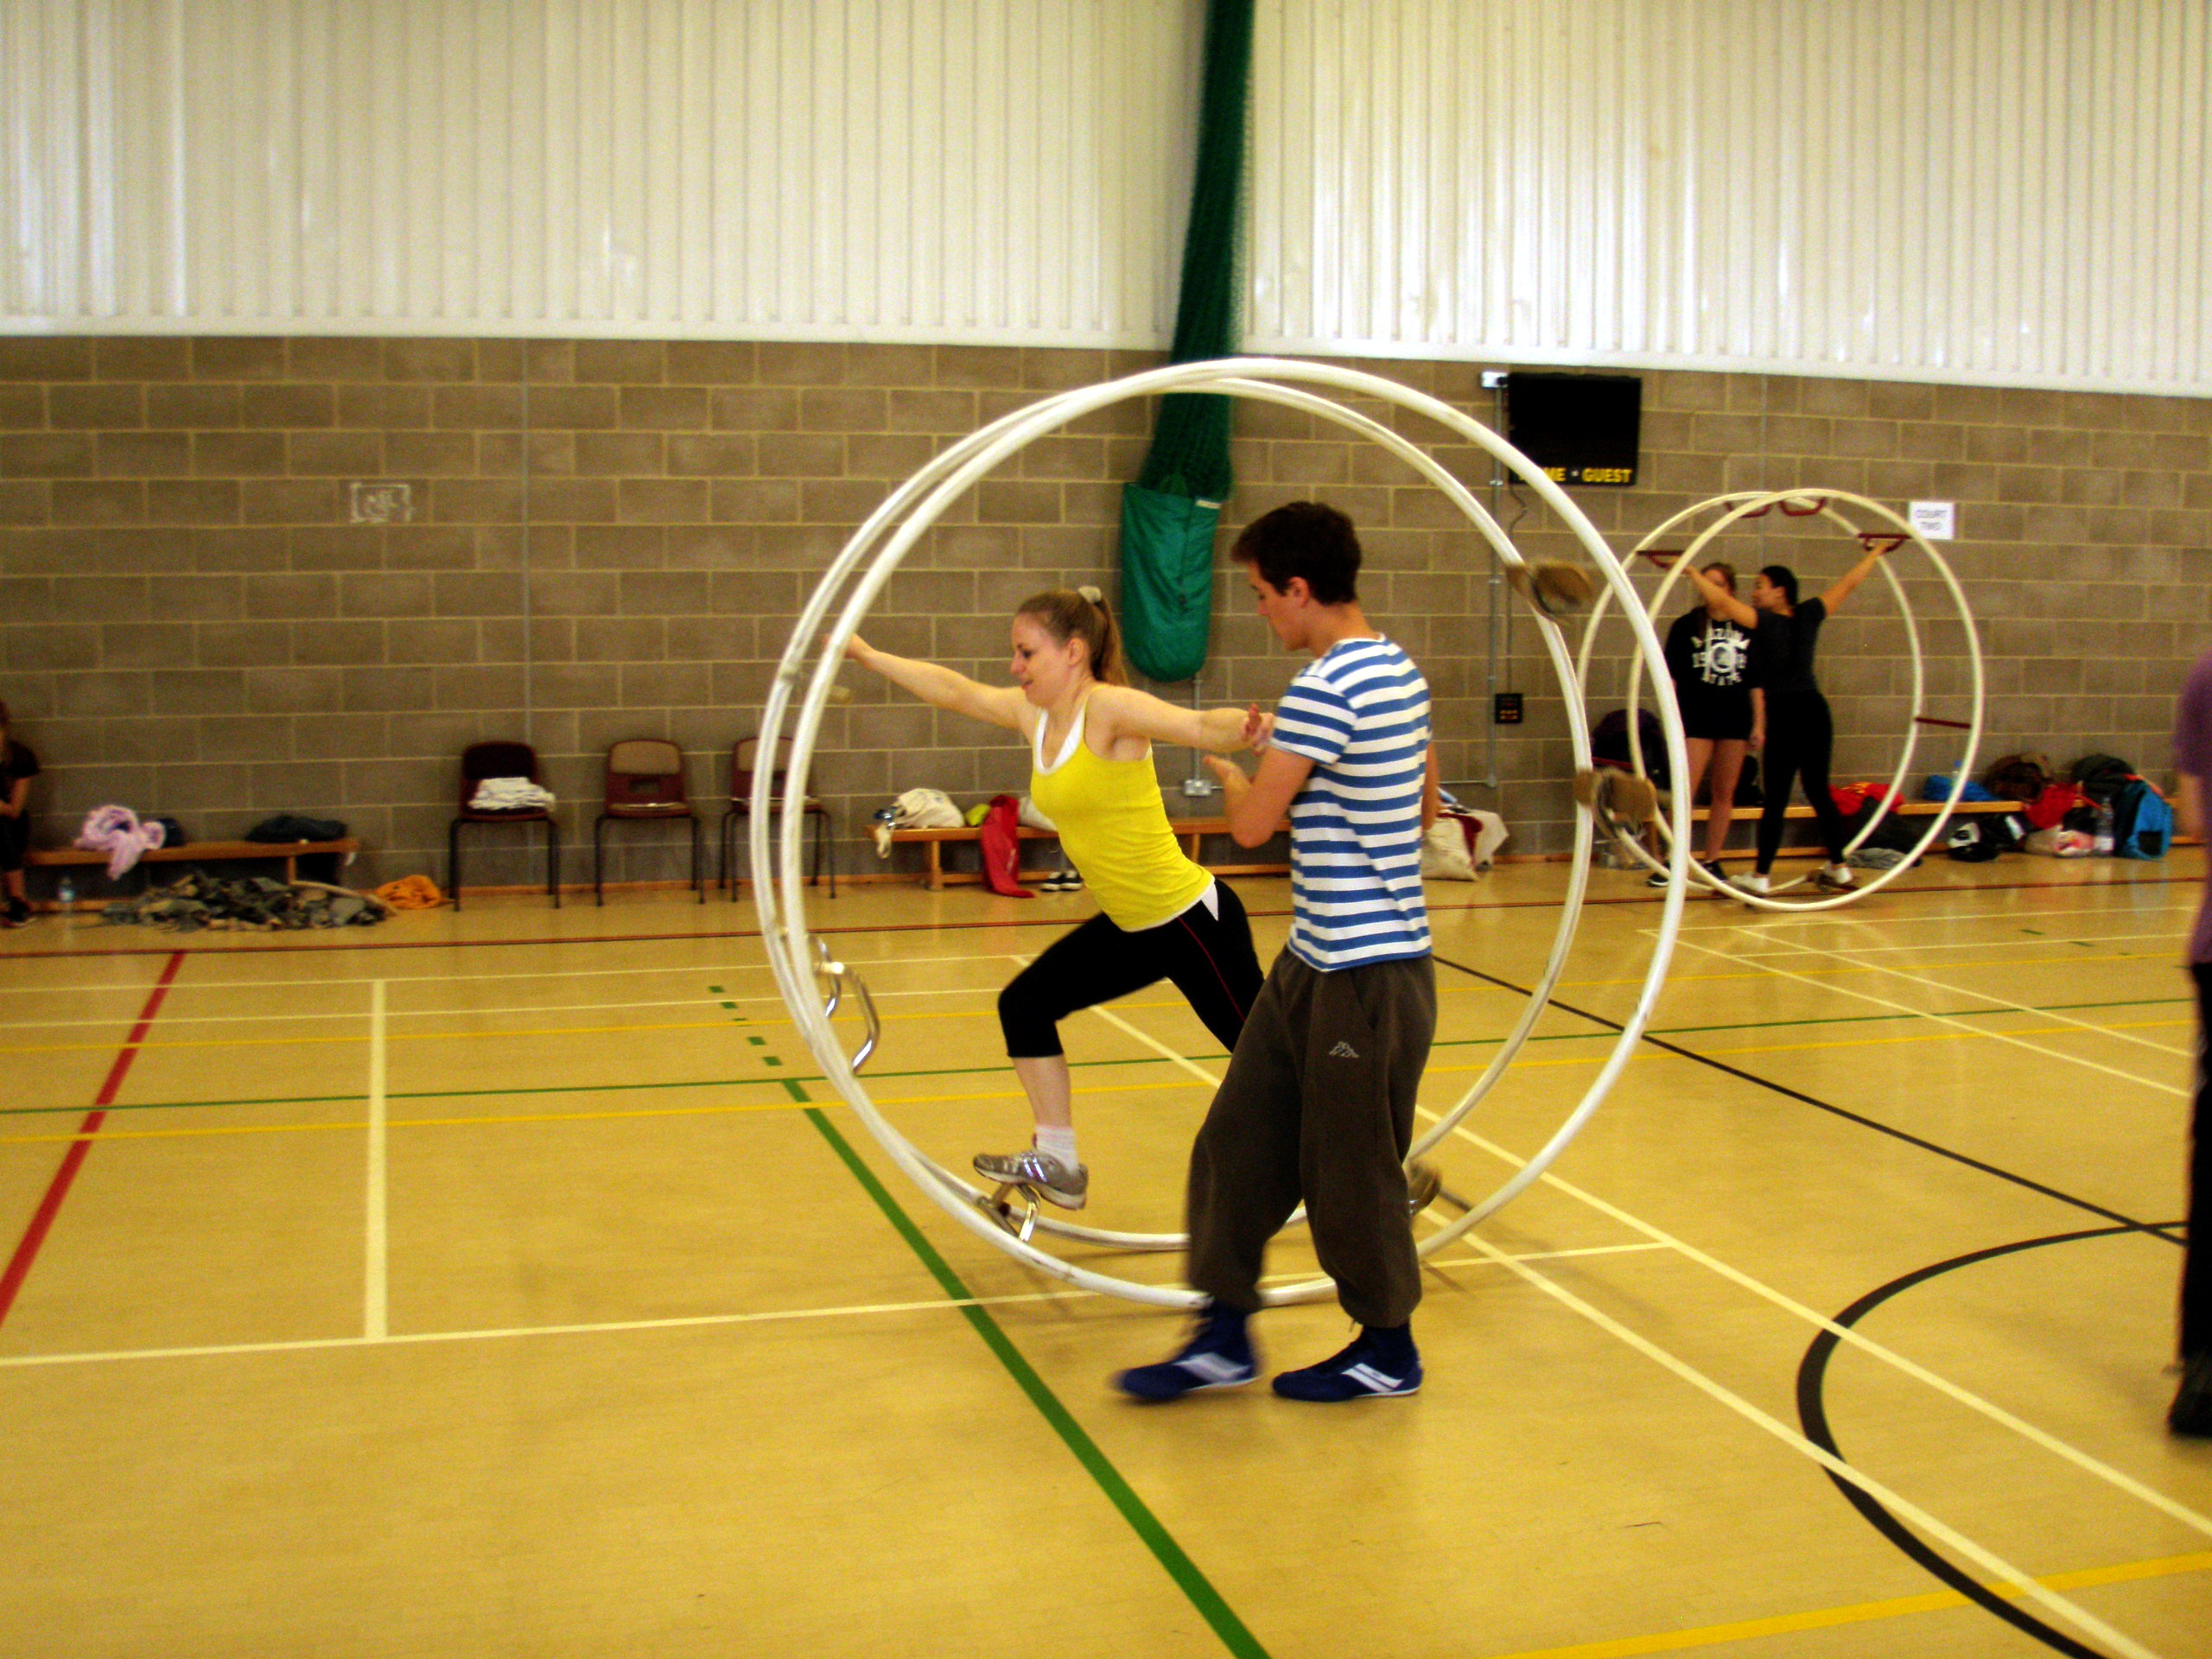
Thank-you so much to the guy’s at Torwood Wheeler’s! We had a brilliant time at your wheeling workshop. It was awesome to see so many talented people essentially giving up their time and so enthusiastically teaching others! We could have had a better time, it was awesome. Roll on your next event!
Anyway, whilst we were there we got a few video’s and photo’s of Donna learning.
Some photos from Torwood Wheelers: